Best Tools Needed For Vinyl Flooring Installation
Let’s determine what are the essential tools needed for DIY vinyl flooring projects. This guide will help you select the best tools available in terms of quality and cost effectiveness, to ensure a flawless and efficient vinyl floor installation.
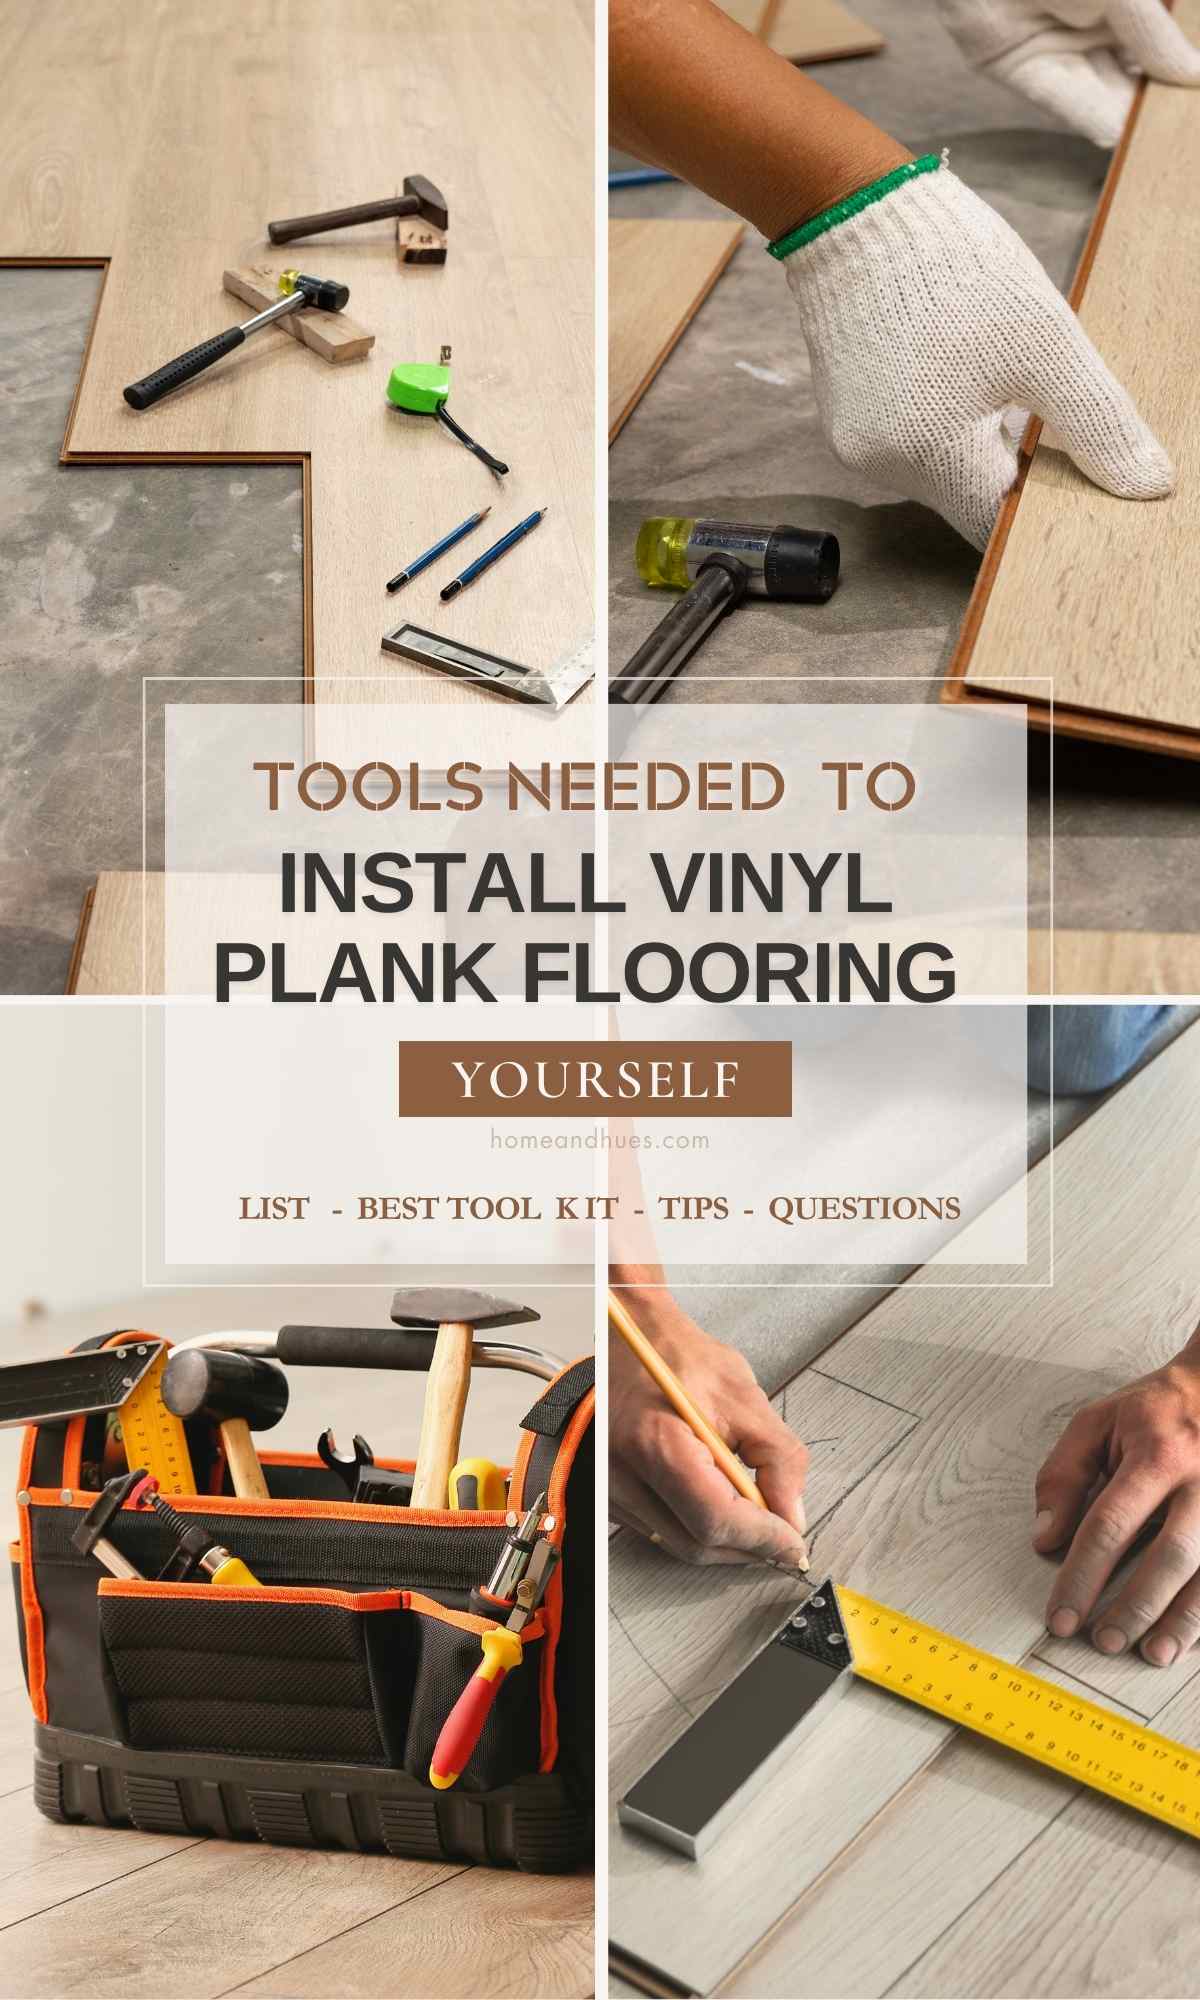
Planning to lay down some vinyl flooring all by yourself, huh? Good for you! I’ve been there, done that, and let me tell ya, having the right tools is a game-changer. So, I’m gonna break it down for you – what tools you absolutely need, why they matter, where to use, and where to get them.
Essential vinyl flooring tools
You’ll need to select the right tools for this DIY vinyl flooring project whether buying them separately or as a kit! From cutting tools to adhesive spreaders, I’ve got you covered! Alrighty, let’s get into it!
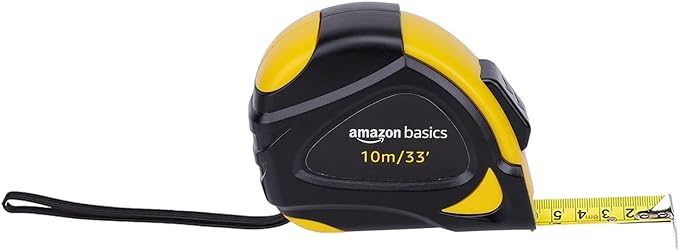
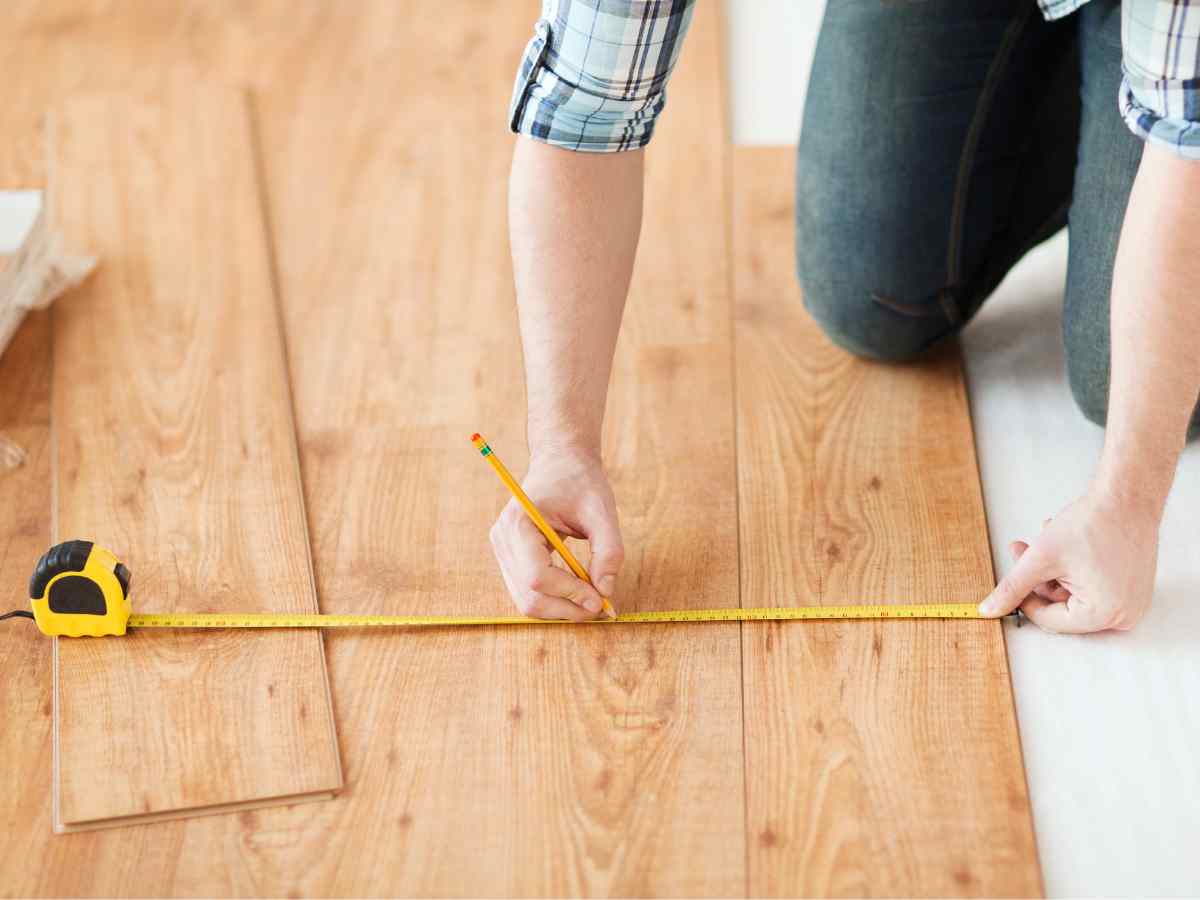
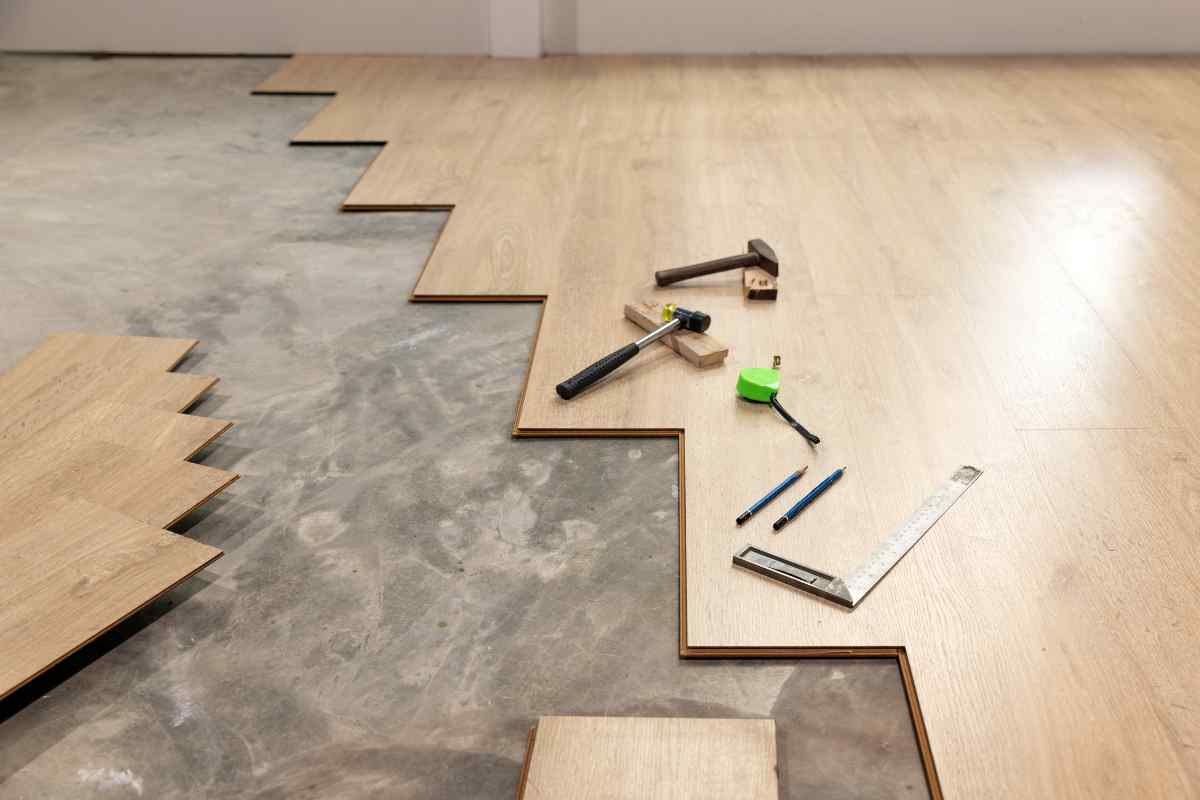
1. Measuring Tape: The Starting Point
Why You Need It: A trusty measuring tape ensures accuracy in your cuts and overall fit, making it a must-have for your tool kit!
Related: Vinyl Flooring vs Laminate Comparison
When to Use It
Here’s where a measuring tape becomes essential in a vinyl flooring project:
- Calculating Room Dimensions: To determine the area of the room and how much vinyl flooring you’ll need.
- Checking Vinyl Plank Sizes: Before cutting, to make sure each piece fits your space.
- Spacing for Expansion Gaps: Ensuring you leave the right amount of space around the edges of the room for expansion.
- Aligning Patterns or Seams: If your vinyl has a pattern, you’ll need precise measurements to align it properly.
- Measuring for Obstacles: Around cabinets, doorways, or fixtures, where you’ll need to cut the vinyl to fit.
Heads up: some links are affiliated & I may receive a small commission from qualifying sales. For more info see my disclaimer policy.
Where To Get it
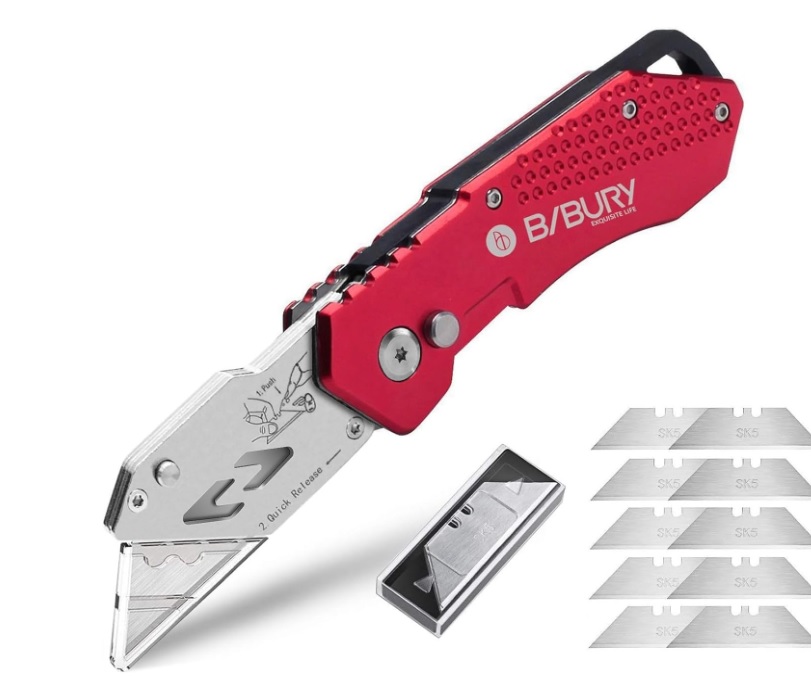
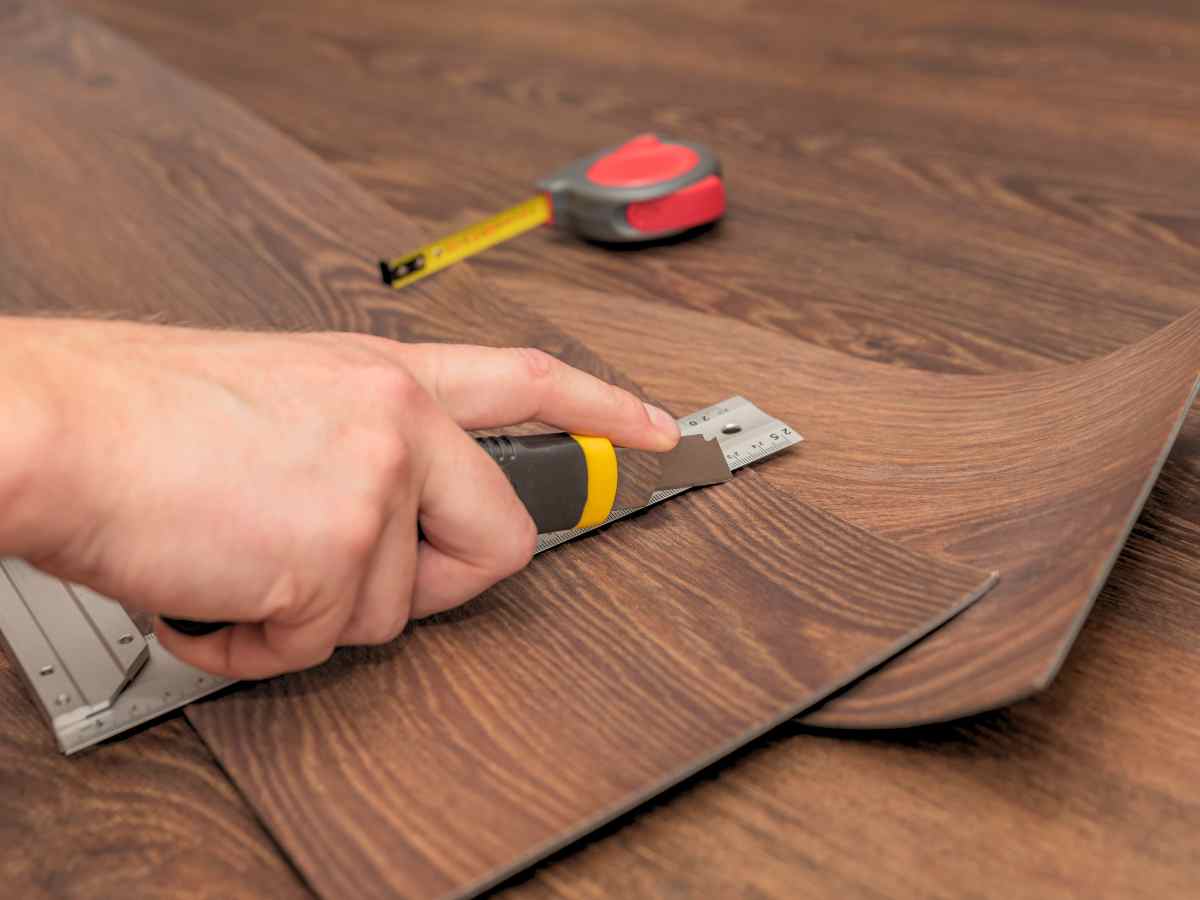
2. Utility Knife: Your Cutting Tool
Why You Need It: Vinyl needs to be cut. Always ensure your utility knife has a sharp blade. A dull blade can tear the vinyl, leading to uneven edges.
When to Use It
When you’re trimming vinyl to size. When you need to cut the vinyl sheets or planks to fit the specific dimensions of your room. Also:
- Cutting Around Obstacles: If you’ve got things like pipes, cabinets, or irregular wall shapes, you’ll need a knife to precisely cut the vinyl to accommodate these.
- Making Edge Adjustments: Sometimes, the edges of the room won’t align perfectly with your vinyl sheets or planks. A knife comes in handy for making fine adjustments.
- Slicing Through Backing Paper: If your vinyl flooring has a peel-and-stick backing, you’ll need a knife to slice through the paper.
- Creating Seams: For larger rooms, you might need to seam pieces of vinyl together. A knife ensures a clean, straight edge for seaming.
- Trimming Excess Material: After laying the vinyl, you might find excess material at the edges. A utility knife trims this excess for a neat finish.
Where To Get It
Extra Tip: Keep extra blades on hand. A fresh blade makes the cutting process smoother and more precise.
Proffessional Options
Professionals often prefer using a power saw, like a table saw, a circular saw with a fine-toothed blade – as their primary cutting tool for vinyl plank flooring. Or a professional flooring cutter – this being the best option for avoiding the sawdust mess. They also sometimes use a jigsaw for intricate cuts around corners or obstacles.
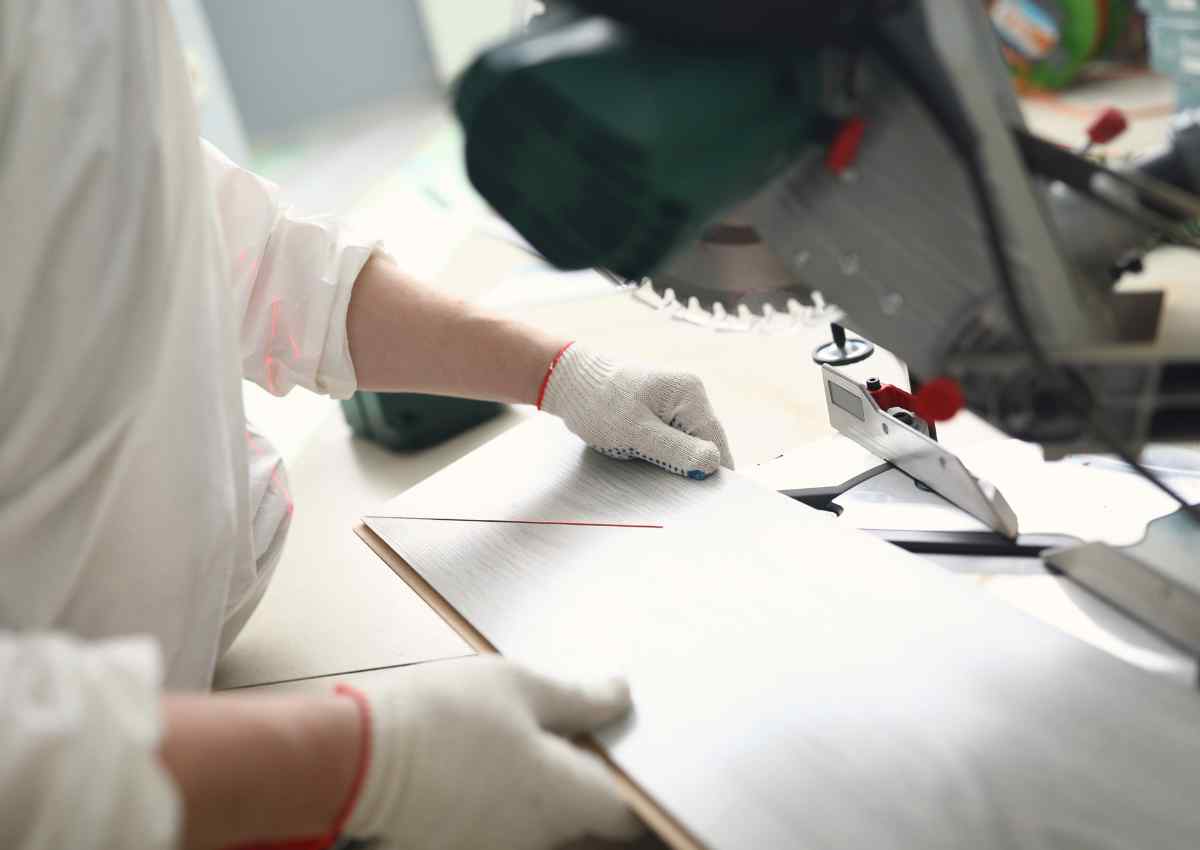
The choice of a power tool ensures speed, accuracy, and the ability to handle a high volume of work, which is essential in a professional setting handling larger projects.
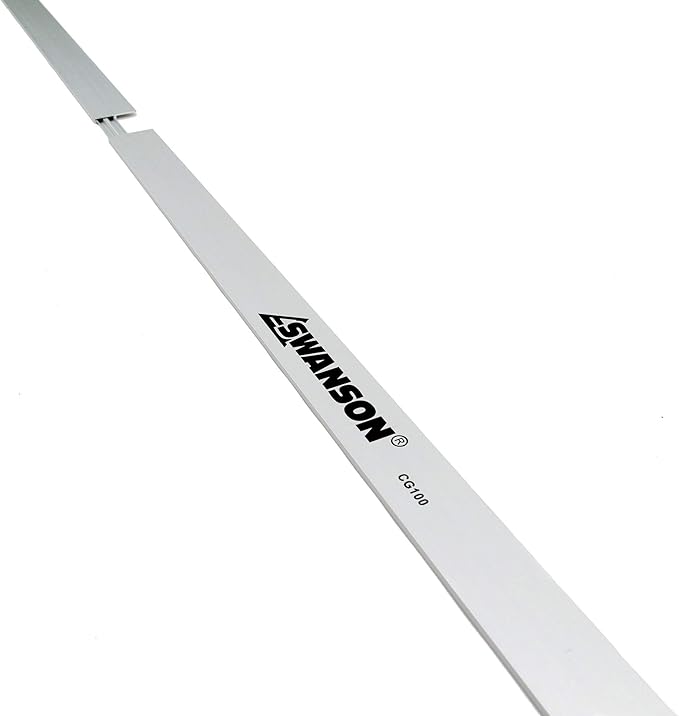
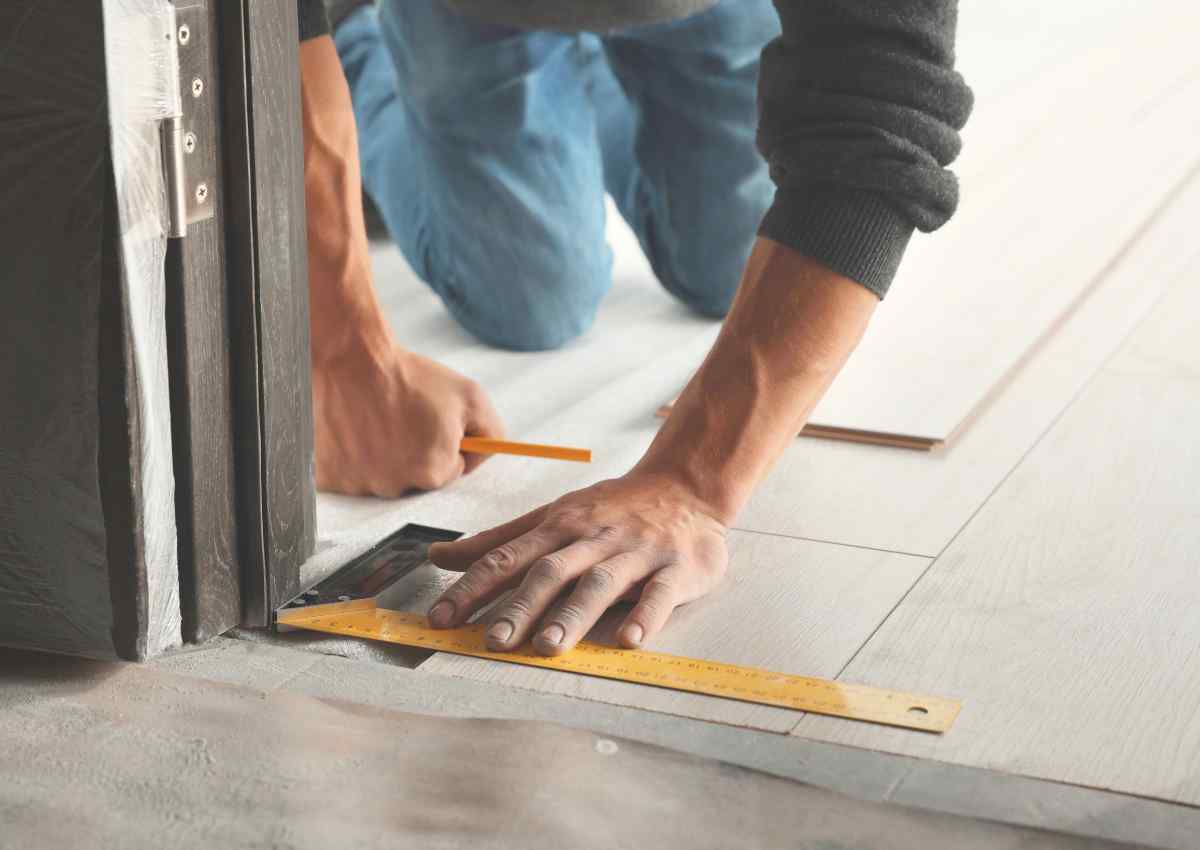
3. Straight Edge To Keeping It Straight and Narrow
Why You Need It: For precise cuts, a straight edge is a must. It’s like having a guide for your utility knife. A metal ruler or a laser level can also be a great addition.
When to Use It: Anytime you’re making long cuts. A ruler or a piece of scrap wood can work in a pinch, but a proper straight edge is worth it.
Where To Get It
Extra Tip: For irregular shapes, use a template made of cardboard to ensure your cuts are precise.
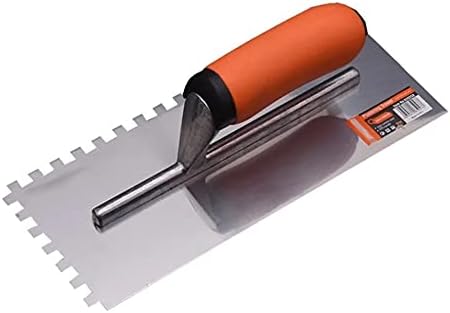
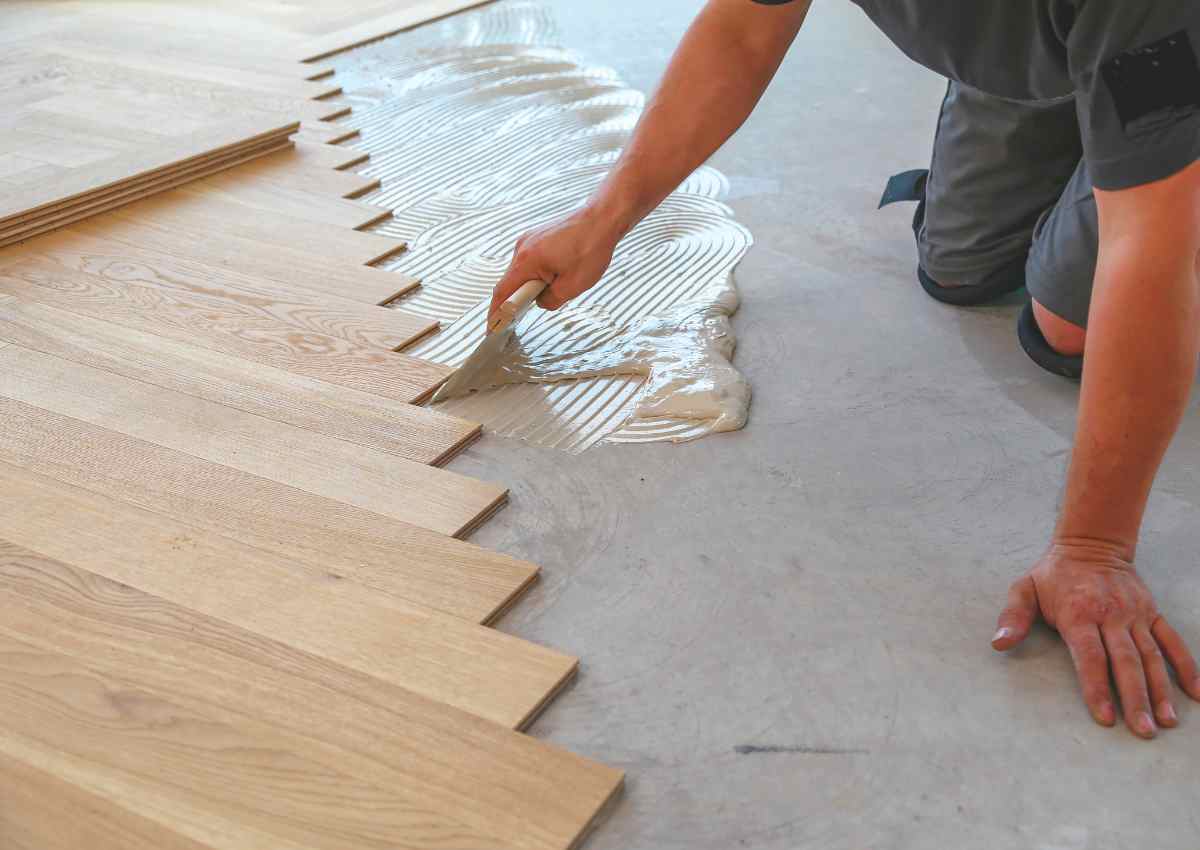
4. Notched Trowel
Why You Need It: If you’re using glue-down vinyl, you’ll need an even spread of adhesive. A notched trowel ensures just that.
When to Use It: When laying down adhesive. Choose the right notch size according to the adhesive manufacturer’s recommendation.
Extra Tip: Clean your trowel regularly during use to prevent adhesive buildup and uneven application.
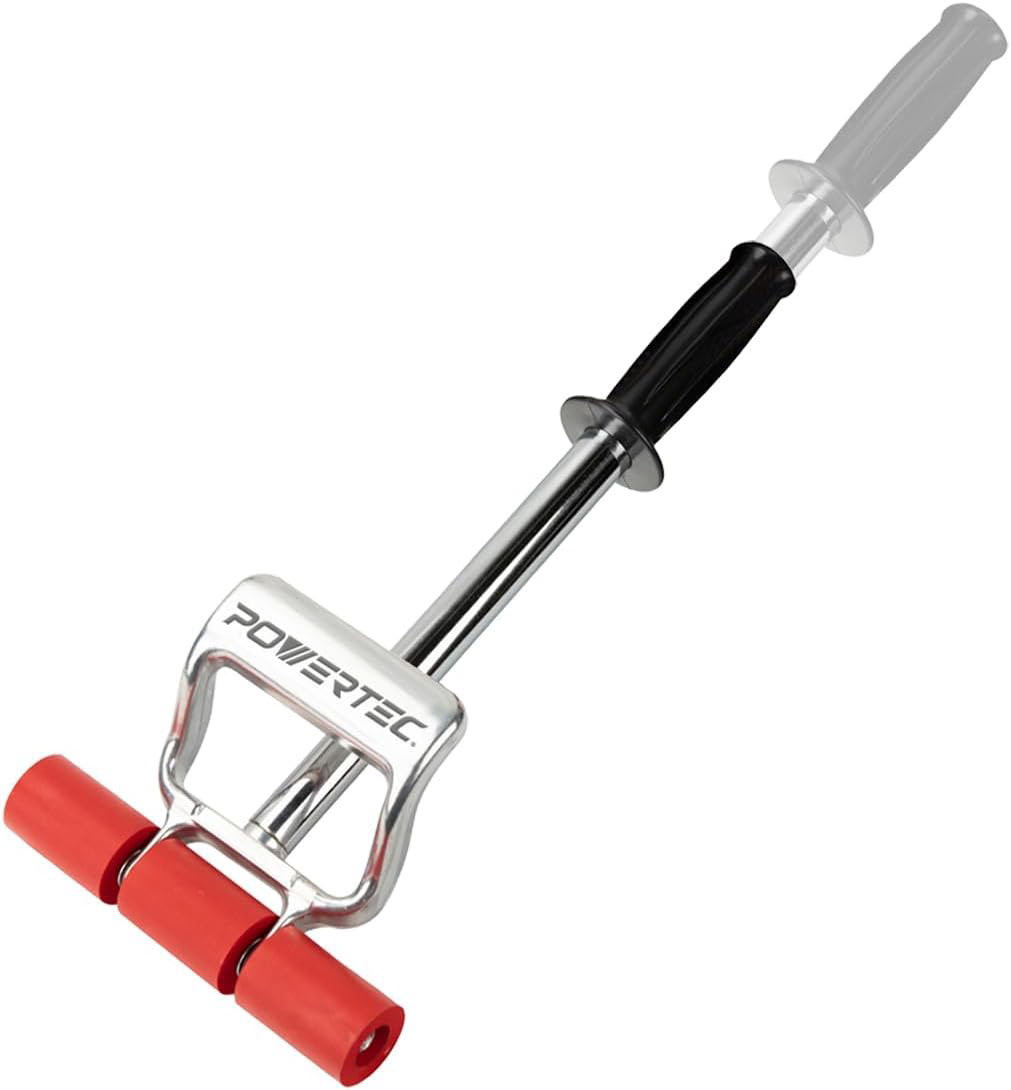
5. Floor Roller: Essential for a Smooth Finish
Why You Need It: After laying down the vinyl, a floor roller helps to firmly press the material into the adhesive, ensuring no bubbles or loose edges.
When to Use It: A floor roller is crucial for ensuring a professional finish when installing vinyl flooring. After laying down the vinyl sheets or planks, you roll the floor roller over them to firmly press the material into the adhesive, eliminating any air bubbles and securing the edges. This tool helps achieve a smooth, even surface, making your DIY project look like it was done by a pro.
Where To Get It
If you’re on a budget, consider renting a floor roller instead of purchasing. Ensure it’s clean and rolls smoothly for even pressure application.
Extra Tip: Roll both in the length and width directions for thorough coverage.
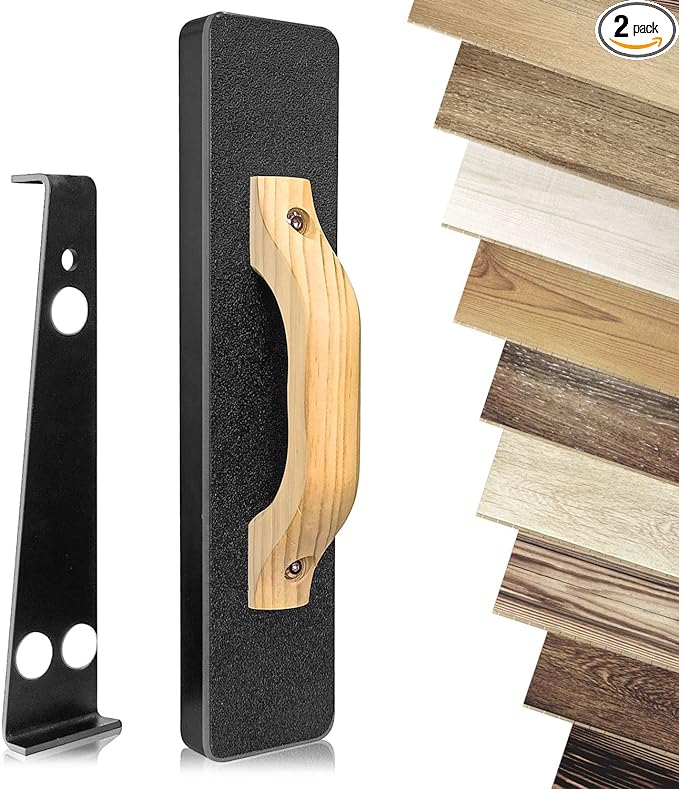
6. Tapping Block and Pull Bar: For Perfect Plank Placement
Why You Need It: These tools help to snugly fit the vinyl planks together without damaging them.
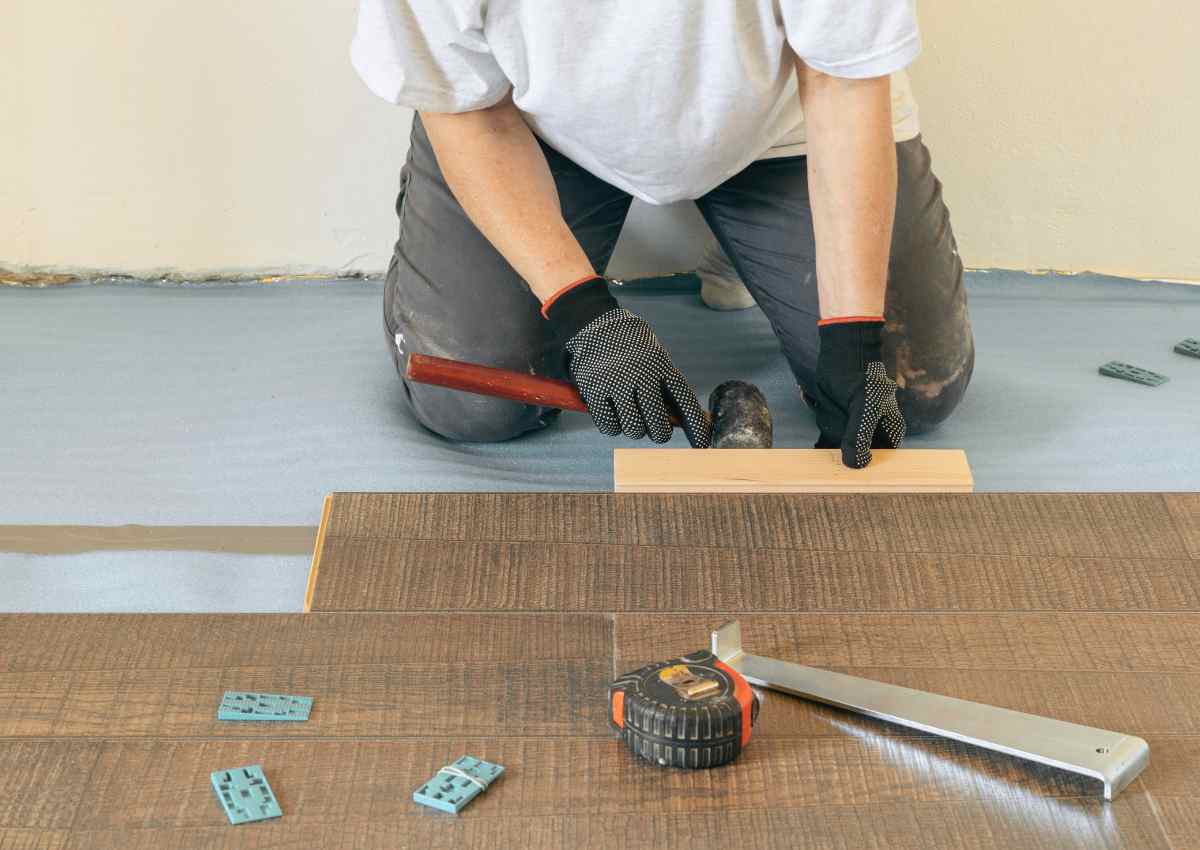
When to Use It: When you’re locking the planks together, especially near walls where it gets tricky.
Where To Get It
Extra Tip: Be gentle when using these tools to avoid damaging the vinyl edges.
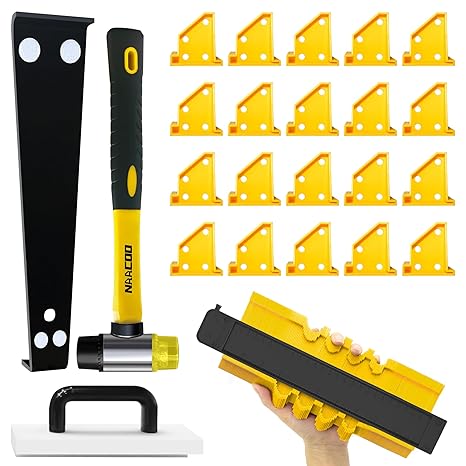
Consider a vinyl flooring installation kit
A vinyl flooring installation kit can be a real game-changer for DIY enthusiasts. These kits typically bundle together several essential tools, making it convenient and often more economical than buying each item separately. They usually include items like a tapping block, a pull bar, and spacers.
The real perk here is the cohesion – these tools are specifically designed to work together for vinyl flooring tasks. Plus, it takes the guesswork out of selecting the right tools for the job. Whether you’re a first-timer or a seasoned DIYer, a vinyl flooring installation kit can speed-up the process, ensuring you have everything you need in one neat package.
Where To Get It
These kits are ideal for beginners, offering a cost-effective and cohesive toolset.
DIY Vinyl Flooring Tools vs. Professional Tools
When comparing DIY vinyl flooring tools with professional-grade tools, the differences often lie in the durability, precision, and efficiency of the tools used. Professionals typically have access to a wider range of high-end tools that are designed for heavy use and can make the installation process quicker and more precise. Here are some additional tools professionals might use that go beyond the basic DIY toolkit:
Professional Vinyl Flooring Tools
- Power Shears or Vinyl Tile Cutter: These are more efficient for cutting large quantities of vinyl tile or plank flooring quickly and with high precision.
- Laser Level: For ensuring absolute levelness across the floor, professionals might use a laser level, which is more accurate than traditional spirit levels.
- Heat Gun: Used for welding vinyl seams in sheet vinyl installations, ensuring a seamless and watertight finish.
- Electric Floor Roller: Compared to a manual roller, an electric floor roller provides consistent pressure across a larger area, which is crucial for large-scale installations.
- Advanced Adhesive Trowels: Professional adhesive trowels might have specific notch designs for different types of adhesives and flooring materials, offering more precision in application.
- Oscillating Multi-Tool: For precise cuts, especially in tricky areas like door frames or under toe kicks.
Make sure to check out more flooring maintenance articles.
Prepping Tips Before Installing Vinyl Flooring
Before installing vinyl flooring, proper preparation is key to ensure a successful outcome. Here are a couple of essential prepping tips:
- Subfloor Inspection and Preparation: The subfloor must be clean, dry, and level. Any cracks, holes, or uneven areas should be repaired. For concrete subfloors, check for moisture issues; use a moisture barrier if necessary.
- Acclimatize Your Vinyl Flooring: Allow the vinyl flooring to acclimate to the room’s temperature and humidity by leaving it in the room where it will be installed for at least 48 hours. This reduces the risk of expansion or contraction post-installation.
- Gather Your Tools and Materials: Ensure you have all the necessary tools and materials before starting. This includes measuring tape, a utility knife, a straight edge, and others specific to your type of vinyl flooring.
- Remove Baseboards and Trim: If possible, remove baseboards and trim for a cleaner installation. You can reinstall them after the flooring is in place.
- Plan Your Layout: Plan the layout of your vinyl planks or tiles. Determine where you’ll start and how you’ll manage any tricky areas, like doorways or corners.
FAQs on Vinyl Flooring Tools
For cutting vinyl plank flooring, a sharp utility knife is usually the best tool. It allows for precise, clean cuts with the flexibility to handle straight and more intricate cuts. Remember to use a straight edge as a guide for straight cuts and to change the blade frequently for the best results. A table saw can also be used for cutting vinyl plank flooring, especially for straight, long cuts or when working with a large volume of planks, which is great for larger projects.
Table Saw or Circular Saw: Great for long, straight cuts. Use with a fine-toothed blade to ensure clean edges.
Jigsaw: Perfect for intricate cuts, like around corners or obstacles. A jigsaw with a fine-toothed blade will help you navigate these detailed cuts smoothly.
Professionals usually prefer using a vinyl tile cutter for straight cuts and a utility knife or vinyl tile nipper for more intricate cuts. These tools ensure a seamless and efficient installation process.
Whether you need underlayment for vinyl plank flooring depends on the specific product and the condition of your subfloor. Generally, if you’re installing a floating vinyl plank floor (not glued down), an underlayment can provide extra cushioning, sound absorption, and moisture protection. For instance, in a condo or an apartment, underlayment is often used to reduce noise transmission to the unit below. However, many vinyl plank products come with a pre-attached underlayment layer, making additional underlayment unnecessary. On the other hand, if you’re installing vinyl planks directly over concrete or a subfloor with imperfections, an underlayment can help smooth out minor bumps and provide a moisture barrier. Always check the manufacturer’s recommendations for your specific flooring product.
It’s wise to purchase an additional 10-15% more than your room’s square footage to account for cuts and potential errors.
The difference between vinyl flooring tools and vinyl plank flooring tools is mostly about precision and type of cuts:
* Vinyl Flooring Tools: Designed for sheet vinyl, focusing on cutting large, continuous pieces, handling adhesive for large areas, and seam sealing.
* Vinyl Plank Flooring Tools: Tailored for individual planks, emphasizing precision cuts for interlocking pieces, and tools for aligning and securing the planks in place.
Remember, the key lies not only in having the right tools but also in understanding how to use them effectively.
©HomeAndHues. Content and photographs are copyright protected and need prior permission to use. Copying and/or pasting full recipes to other websites and any social media is strictly prohibited. Sharing and using the link of this recipe is both encouraged and appreciated!

