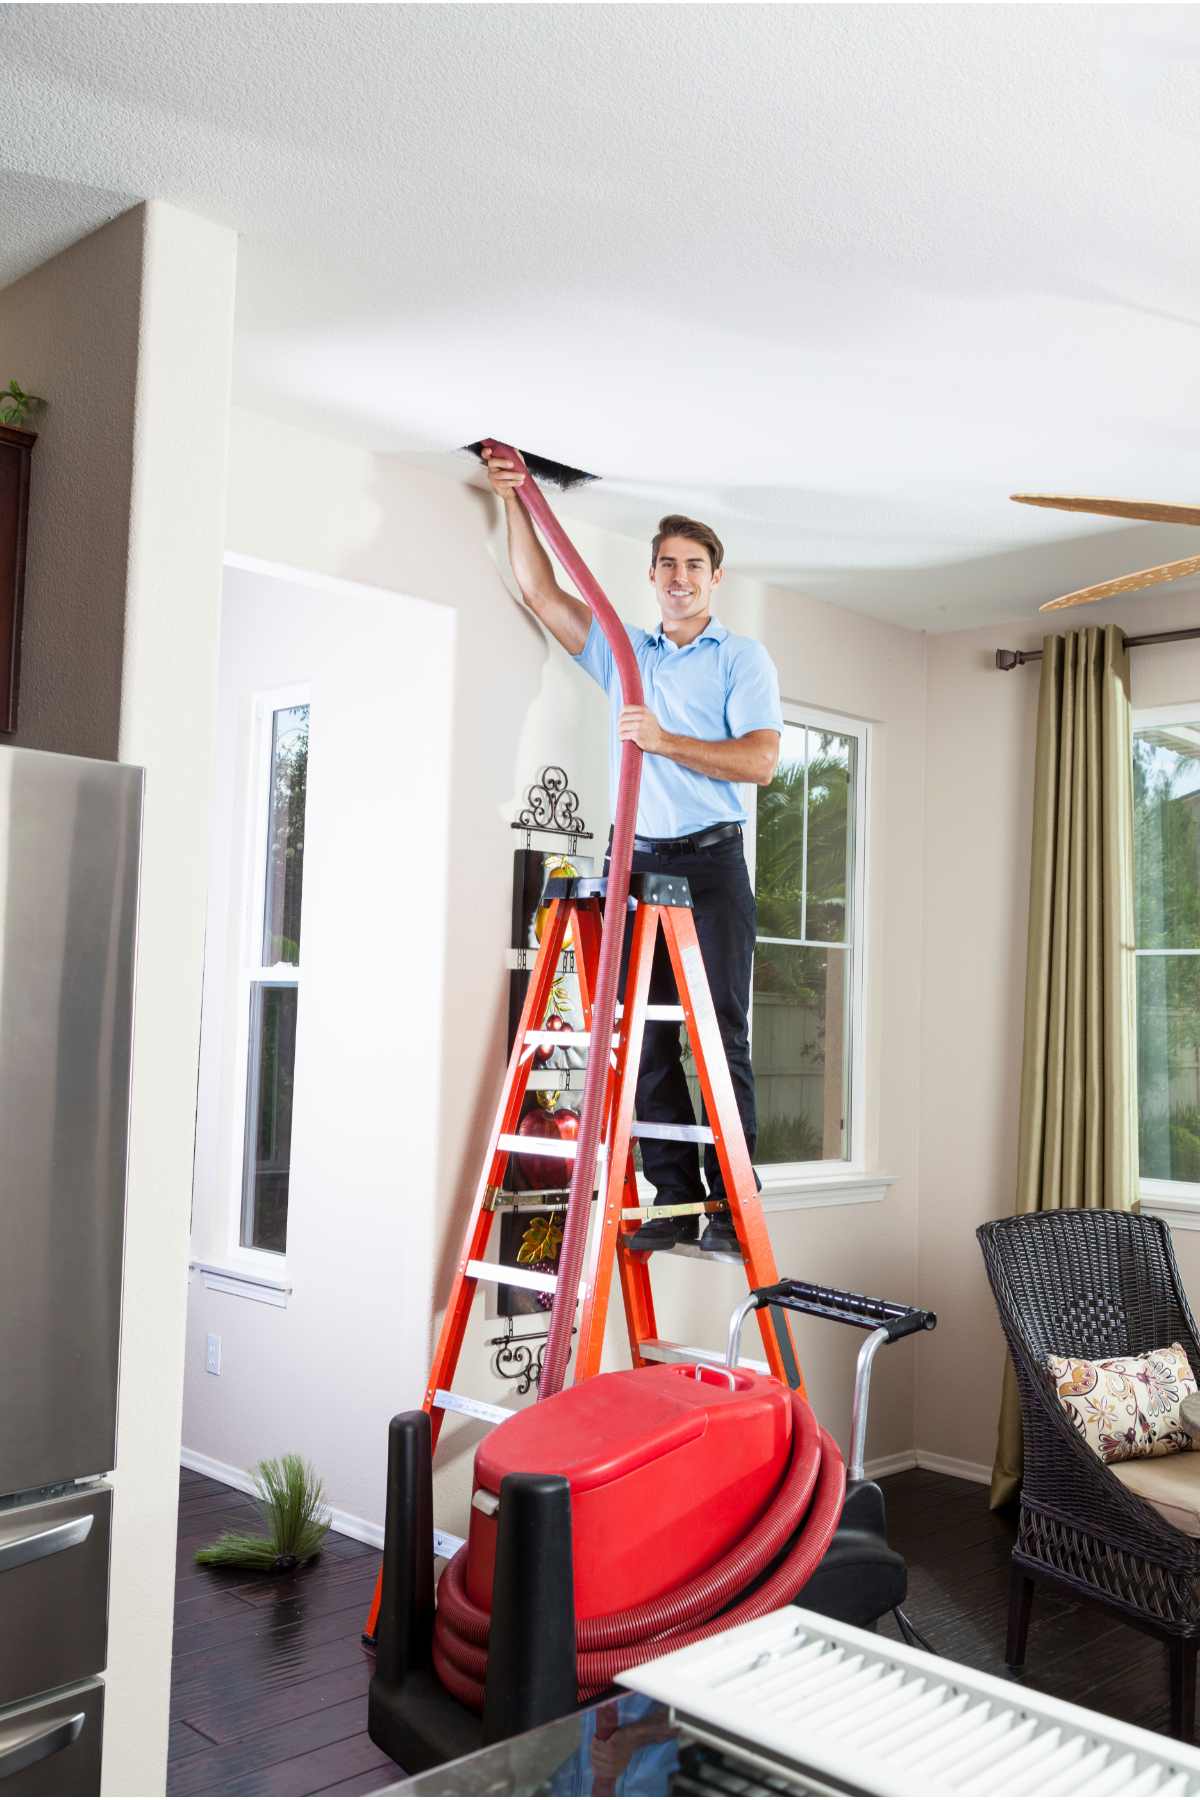
How to Clean Air Ducts Yourself for Improved Indoor Air Quality
Indoor air quality plays a crucial role in our overall well-being. The air we breathe directly impacts our health, and one significant factor in maintaining clean indoor air is the cleanliness of our air ducts. Dirty air ducts can accumulate dust, debris, and allergens over time, leading to poor air quality and potential health issues. In this article, we will provide you with a comprehensive guide on how to clean air ducts yourself, allowing you to improve the indoor air quality of your home or office.
Understanding the Importance of Air Duct Cleaning
Before delving into the process of cleaning air ducts, it is essential to understand why it matters. Over time, air ducts accumulate dust, pollen, pet dander, mold spores, and other contaminants. When the HVAC system operates, these pollutants can be circulated throughout your space, affecting the air you breathe. By regularly cleaning your air ducts, you can remove these accumulated particles, improving the indoor air quality and reducing the risk of respiratory issues and allergies.
Heads up: some links are affiliated & I may receive a small commission from qualifying sales. For more info see my disclaimer policy.
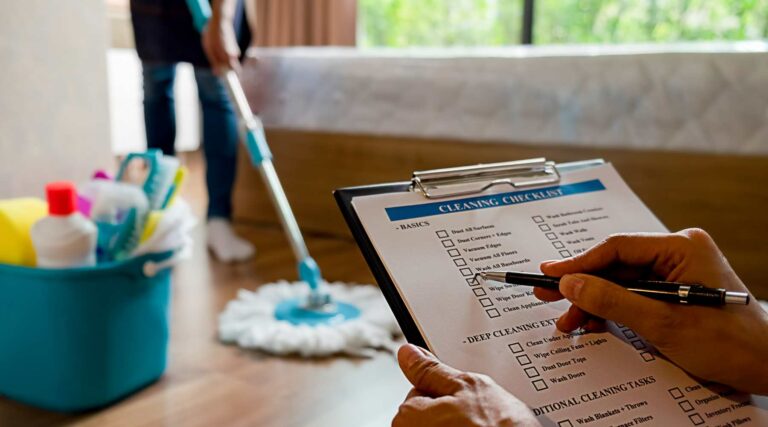
Necessary Tools and Preparations
To clean your air ducts effectively, gather the following tools:
- Screwdriver or drill
- Vacuum cleaner with hose and brush attachments
- Soft-bristled brush
- Disposable wipes or cleaning cloths
- Duct cleaning brushes
- Dust mask and gloves for personal protection
Additionally, it is crucial to turn off the HVAC system before starting the cleaning process. This ensures the safety of both you and the equipment. If you have any doubts about the process, it’s always a good idea to consult a professional air duct cleaning service.
Step-by-Step Air Duct Cleaning Process
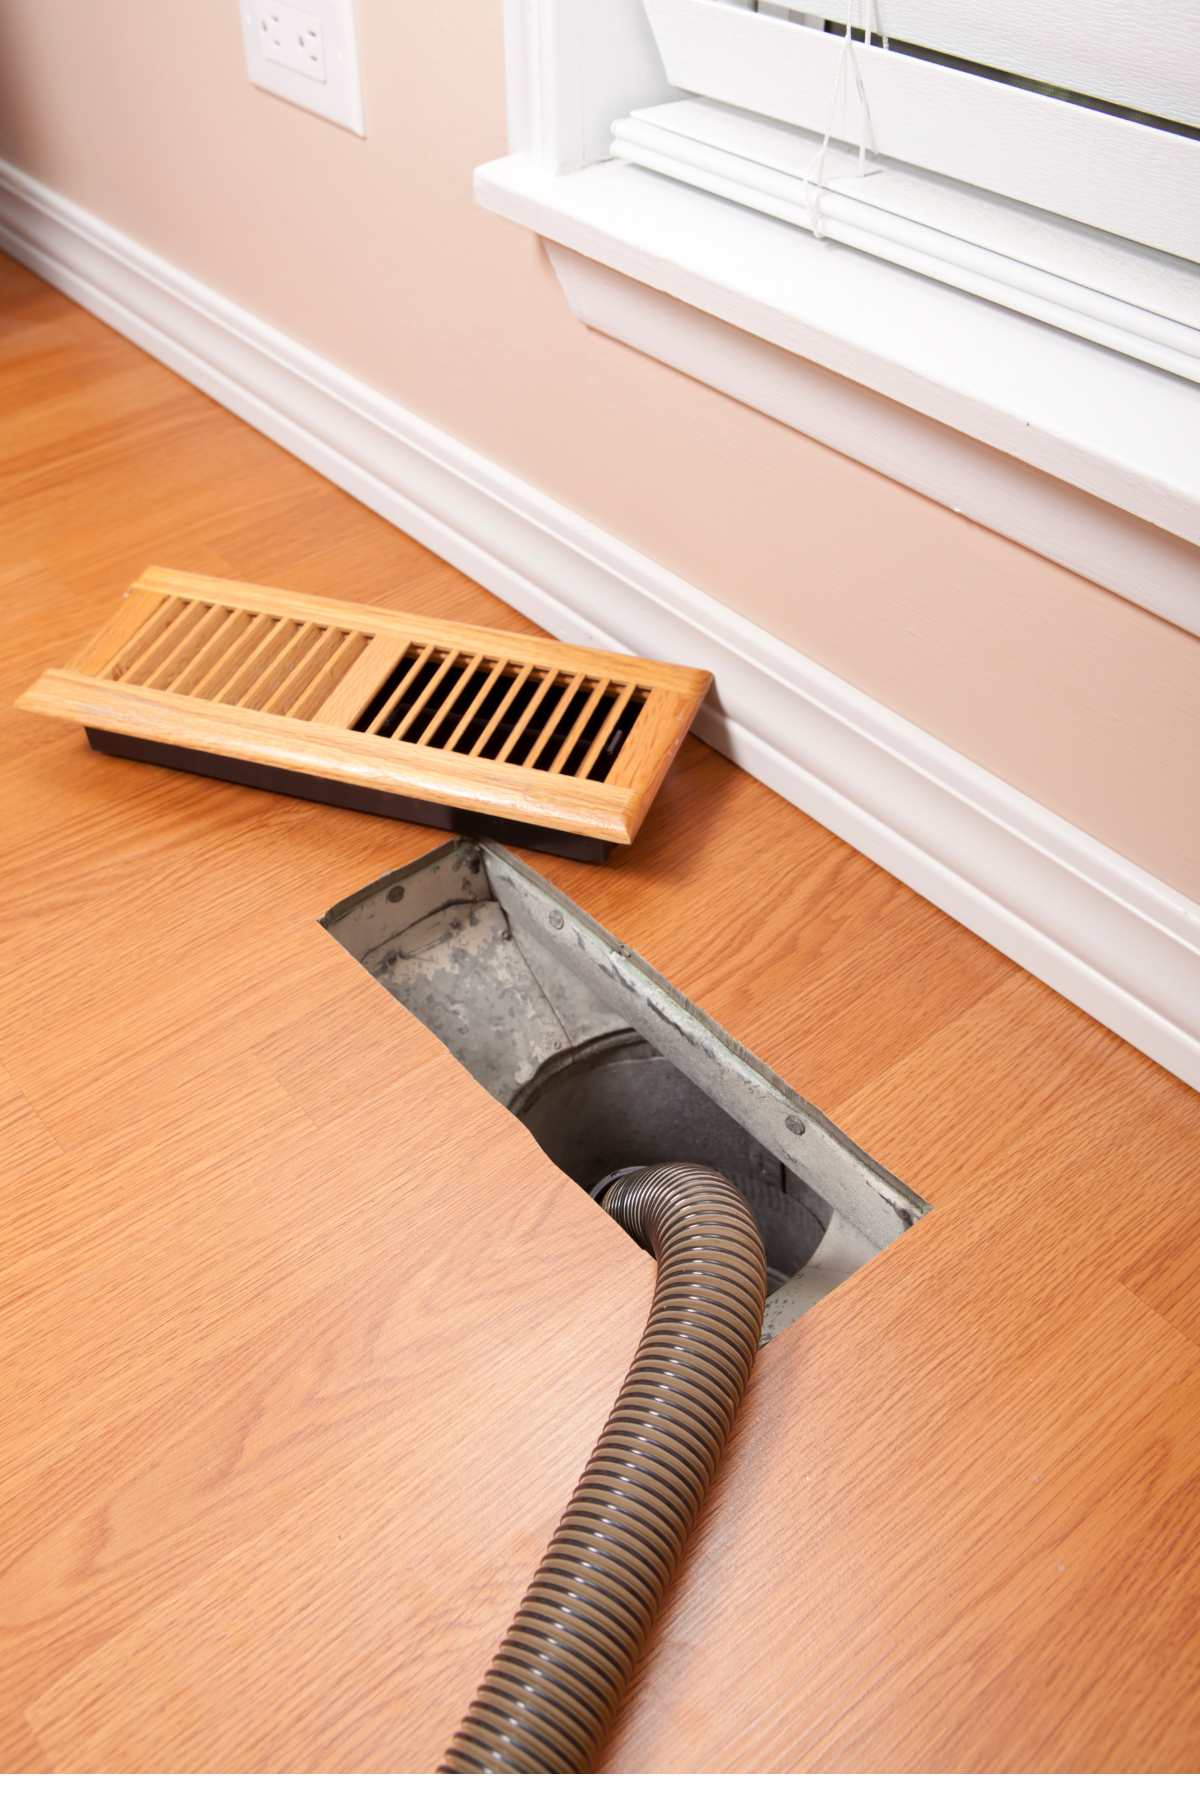
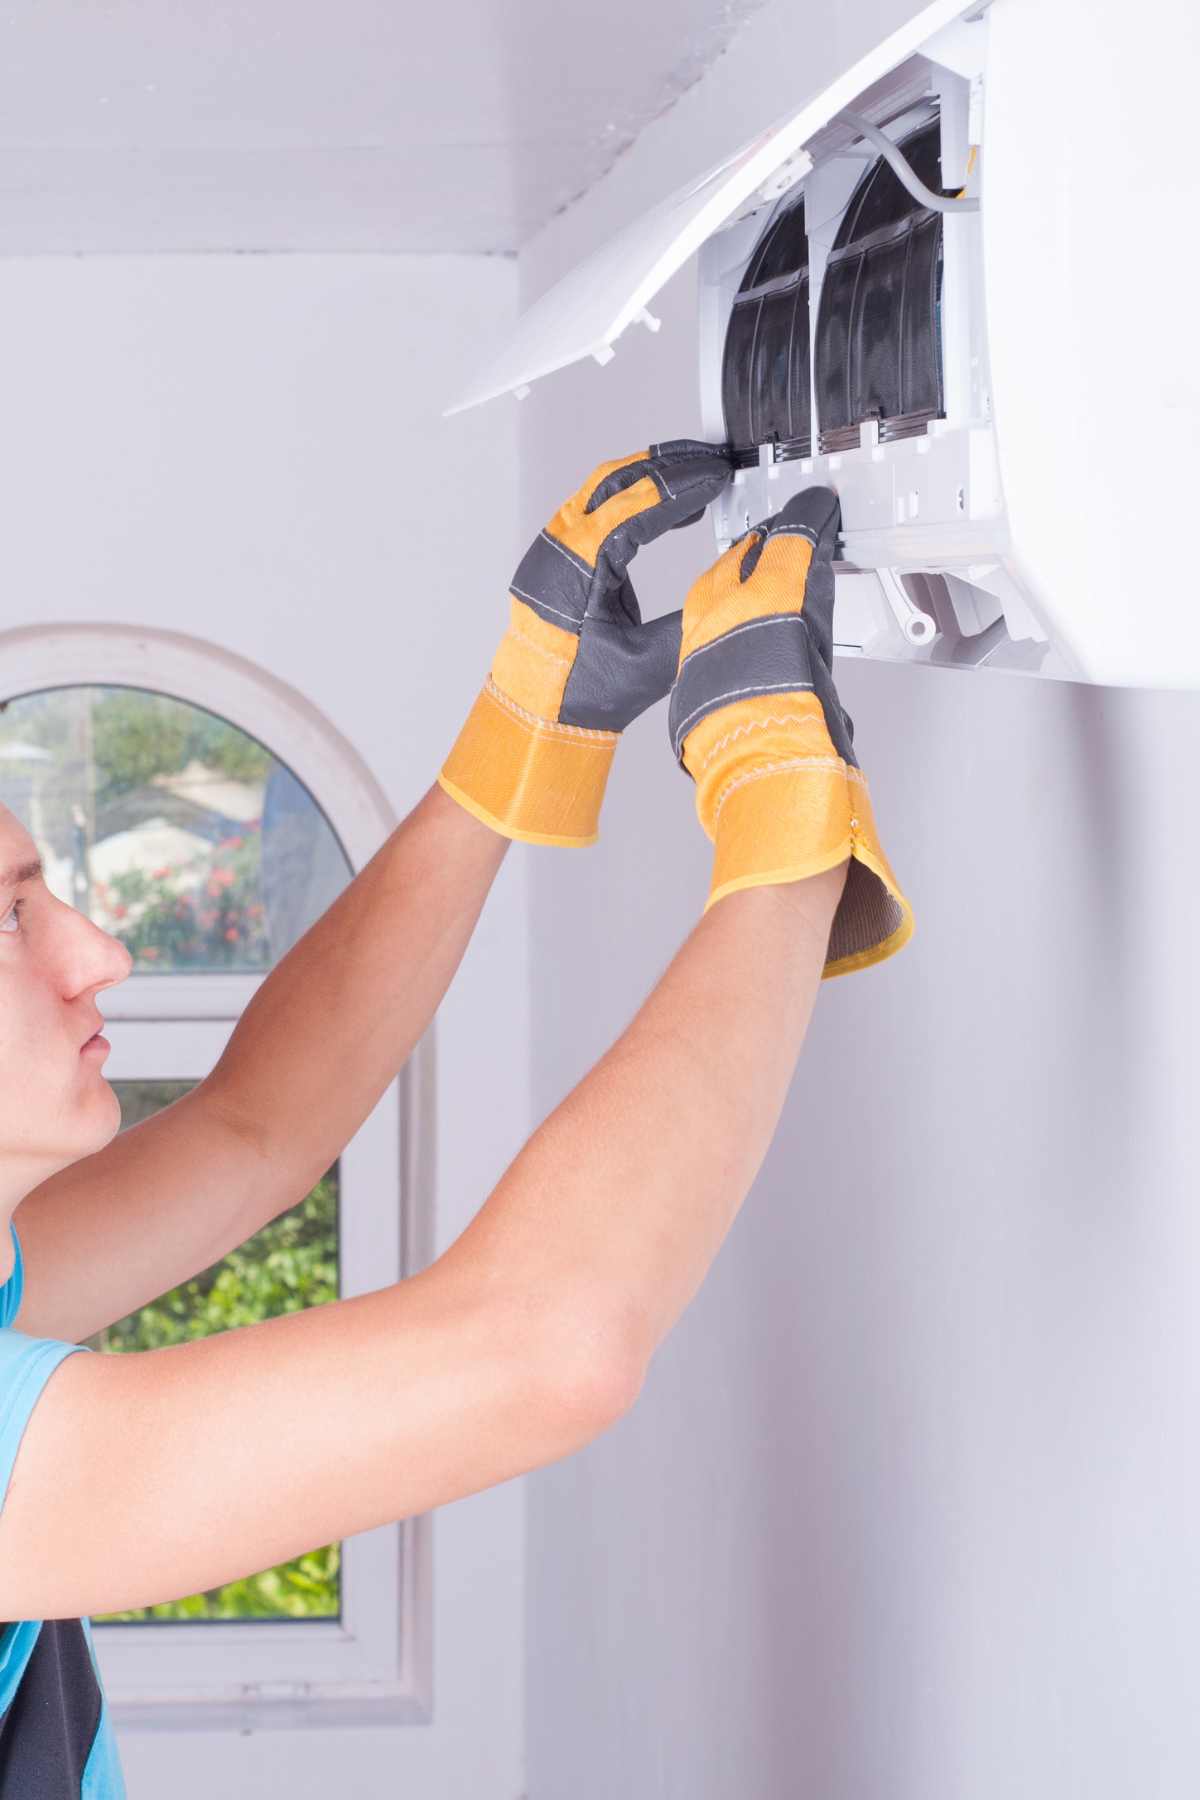
Step 1: Remove Vent Covers
Begin by removing the vent covers from the air duct openings. Most vent covers can be easily unscrewed using a screwdriver or drill. Place them in a safe location for cleaning later.
Step 2: Inspect and Clean Vent Covers
Inspect the removed vent covers for dust and debris. Wipe them clean using disposable wipes or a damp cloth. Make sure to remove any accumulated particles thoroughly.
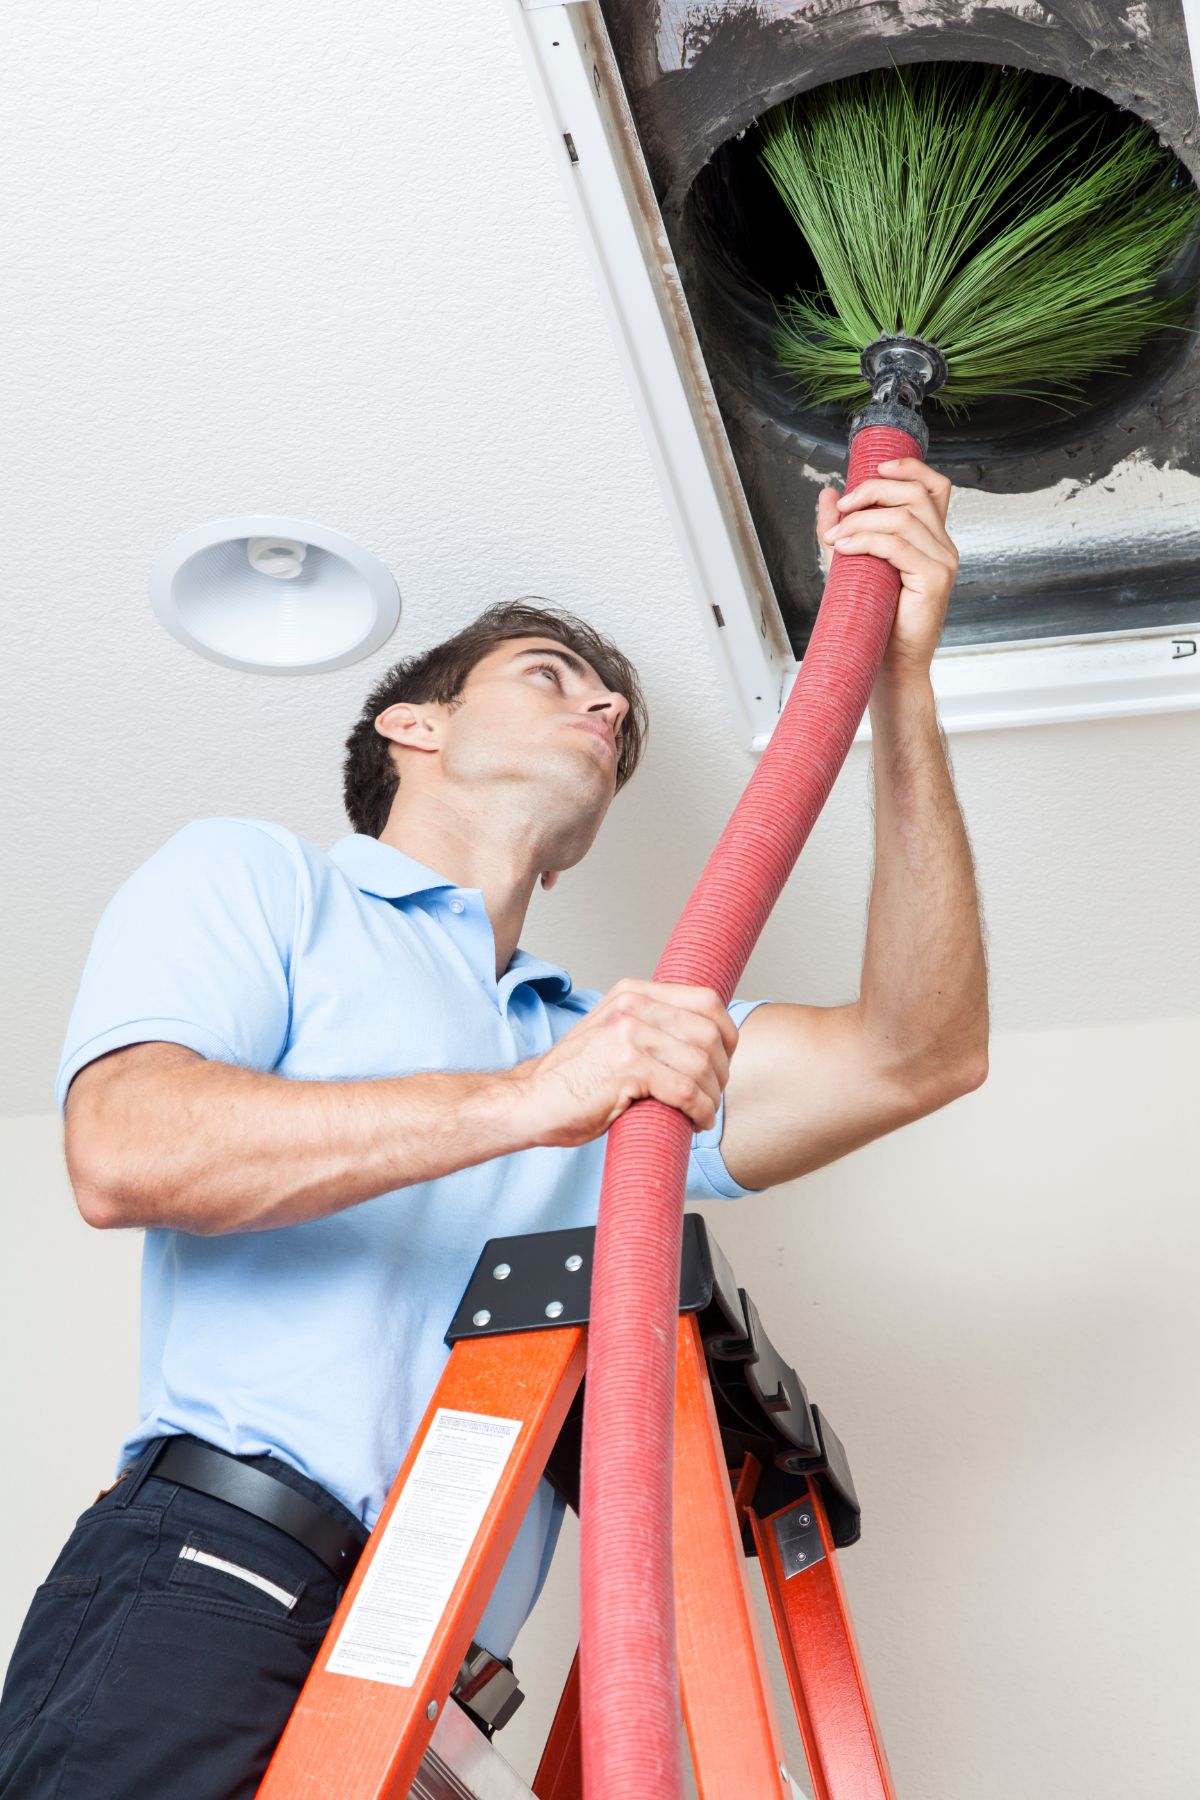
Step 3: Clean the Ductwork
Using a vacuum cleaner with a hose and brush attachment, carefully clean the visible portions of the air ducts. Pay close attention to corners, joints, and bends where dust and debris tend to accumulate. Move the vacuum attachment slowly and methodically to ensure effective cleaning.
Step 4: Brush Away Dust and Debris
For hard-to-reach areas or stubborn dirt, utilize a soft-bristled brush or duct cleaning brushes. Gently brush the inner walls of the air ducts to dislodge any remaining dust or debris. Be cautious not to damage the ductwork while brushing.
Step 5: Vacuum Once Again
Follow up the brushing process with another round of vacuuming. This will help remove the loosened particles and ensure a thorough cleaning. Continue vacuuming until no visible dust or debris remains.
Step 6: Clean and Reattach Vent Covers
Clean the vent covers that were removed in Step 1. Wipe them down with a damp cloth or use a vacuum cleaner to remove any dust. Once clean, reattach the vent covers securely using a screwdriver or drill.
Maintaining Clean Air Ducts
After completing the cleaning process, it is essential to establish a regular maintenance routine to ensure ongoing indoor air quality. Consider the following tips:
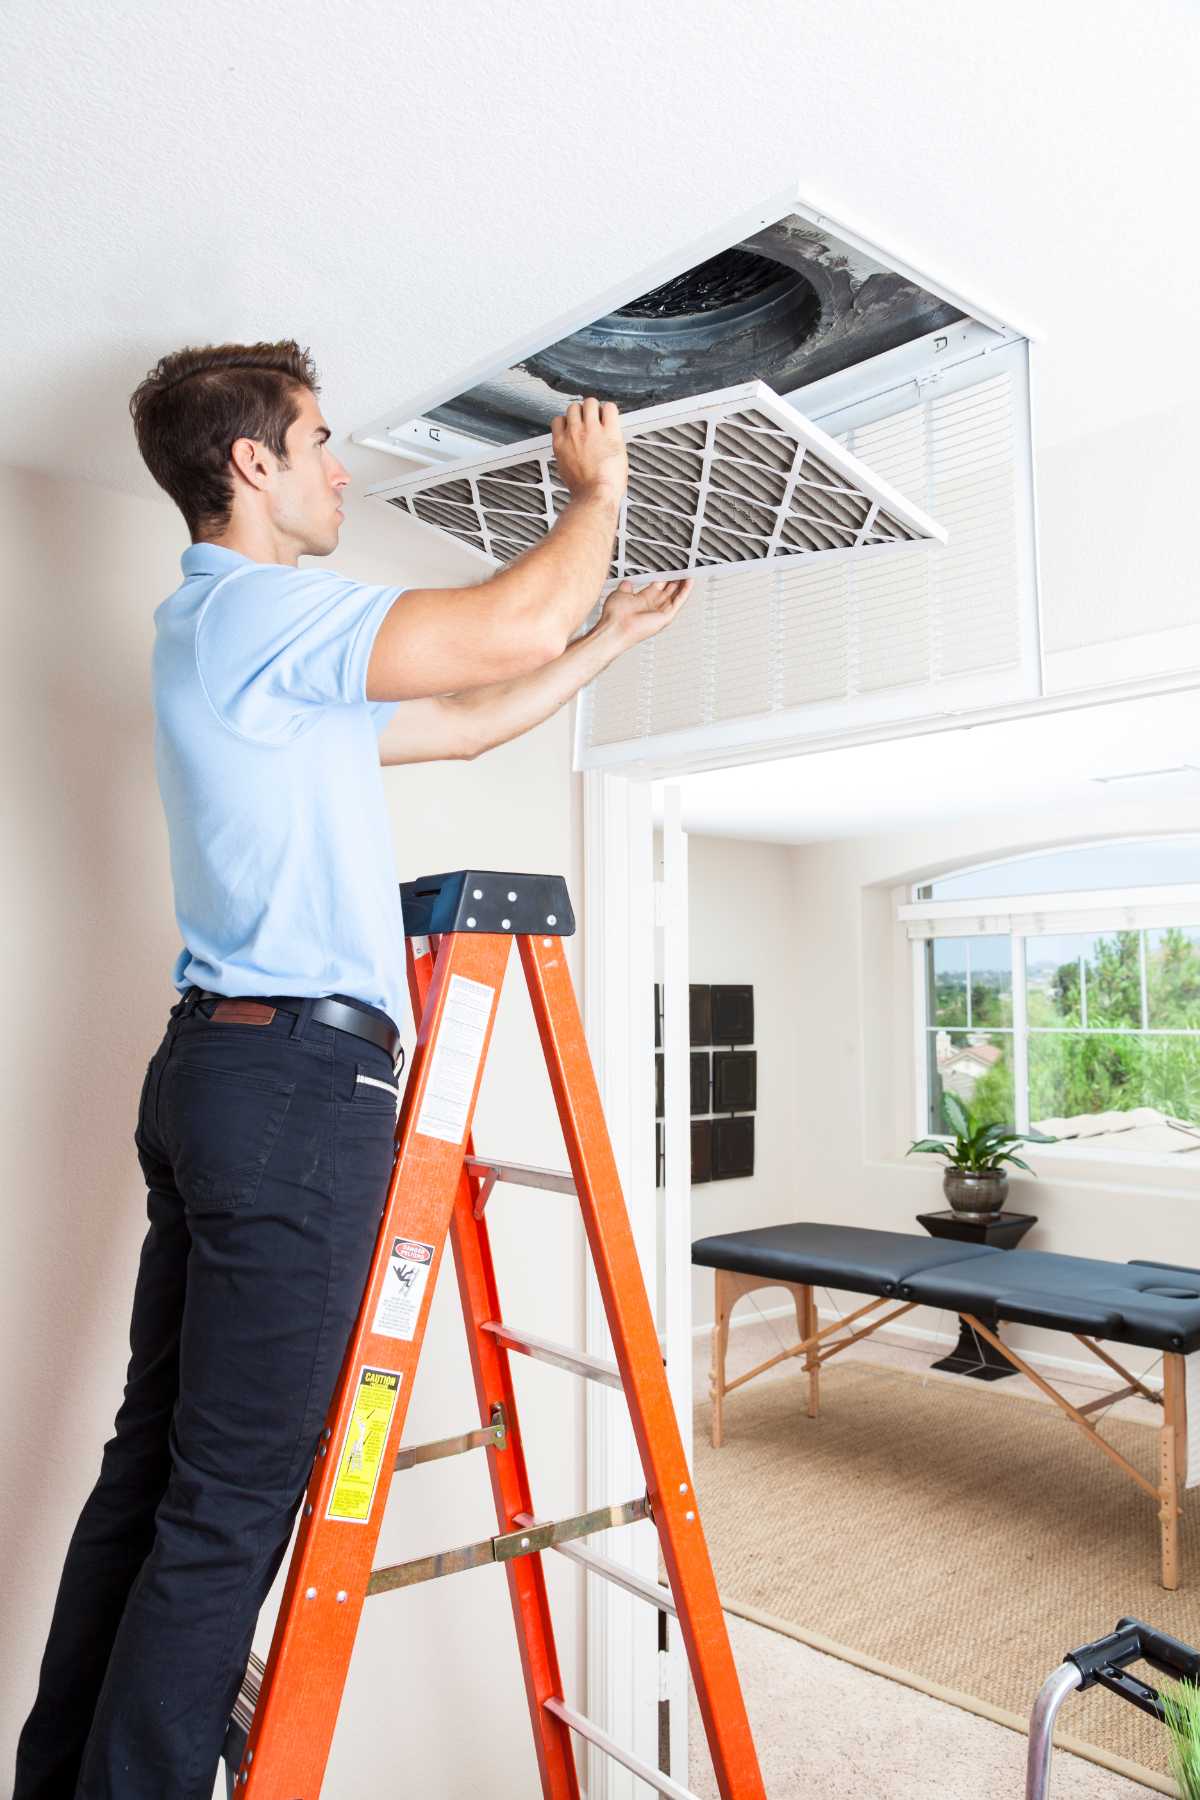
- Change HVAC filters regularly: Replace air filters according to the manufacturer’s recommendations, typically every 1-3 months.
- Keep the surrounding area clean: Regularly dust and vacuum the surrounding areas near the air ducts to prevent dust and debris buildup.
- Monitor indoor air quality: Invest in an air quality monitor to keep track of the air quality in your home or office. This will help you identify any potential issues and take necessary steps to address them.
- Schedule professional inspections: While cleaning air ducts yourself is a cost-effective option, it’s still recommended to schedule periodic professional inspections. Professionals have the expertise and specialized equipment to conduct a thorough inspection and identify any underlying issues that may require professional intervention.
- Consider professional cleaning: In some cases, professional air duct cleaning may be necessary, especially if you notice persistent mold growth, pest infestation, or excessive debris buildup. Professional cleaners have the knowledge and tools to handle more complex situations effectively.
- Seal ductwork gaps: Inspect the ductwork for any gaps or leaks and seal them properly. This helps prevent air leakage and ensures that the conditioned air reaches its intended destination, improving the overall efficiency of your HVAC system.
- By following these maintenance tips and incorporating regular air duct cleaning into your routine, you can significantly improve the indoor air quality in your space and promote a healthier living environment.
Clean air ducts are vital for maintaining optimal indoor air quality. By following the step-by-step process outlined in this article, you can successfully clean your air ducts yourself, improving the air you breathe. Remember to gather the necessary tools, turn off the HVAC system, and clean both the vent covers and the ductwork thoroughly. Additionally, establish a maintenance routine to keep your air ducts clean and consider professional inspections or cleanings when needed. By prioritizing the cleanliness of your air ducts, you can create a healthier and more comfortable living or working environment.