Top Tips for DIY Kitchen Cabinet Repair
Top Tips for DIY Kitchen Cabinet Repair
A kitchen is the heart of a home. And its cabinets? They’re the guardians of that heart, holding onto cherished memories and ingredients. Ever thought about how your DIY skills could breathe new life into those old cabinets? Whether it’s a tiny scratch or a wonky hinge, DIY kitchen cabinet repair can be both fun and satisfying. Let’s dive into the world of kitchen repairs, shall we?
Heads up: some links are affiliated & I may receive a small commission from qualifying sales. For more info see my disclaimer policy.
Introduction to Kitchen Cabinet Repair
First, let’s talk about why DIY is the way to go. Sure, you can hire someone, but why not save some cash and learn a new skill? With a bit of patience and the right tools, you’re good to go!
Importance of Repairing Kitchen Cabinets
The kitchen is more than a cooking space; it’s a space of memories. Cabinets that look aged or damaged can bring down the overall aesthetic of your kitchen. Keeping them in tip-top shape ensures a fresh look and longevity.
Tools Needed
Before we begin, let’s gather our tools, like a good chef preparing ingredients. Here’s what you’ll need:
- Screwdriver
- Sandpaper (various grits)
- Wood filler or putty
- Paint or stain
- Protective gloves and eyewear
Step-by-step Guide to Repairing
Identifying Damage Types
The first step? Know your enemy.
Scratches and Nicks
These are the most common. They come from daily use, moving objects, or even an overly excited pet. They’re superficial but can be an eyesore.
Loose or Misaligned Hinges
Doors not closing properly? The hinge could be the culprit.
Damaged Finish
Spilled some wine? Left a hot pot on it? Over time, the finish can get damaged, leading to discoloration or peeling.
Techniques for Repair
Got the damage identified? Let’s fix it!
Sanding and Refinishing
For scratches and nicks, sand the area gently until smooth, then apply a fresh coat of paint or stain.
Realigning Hinges
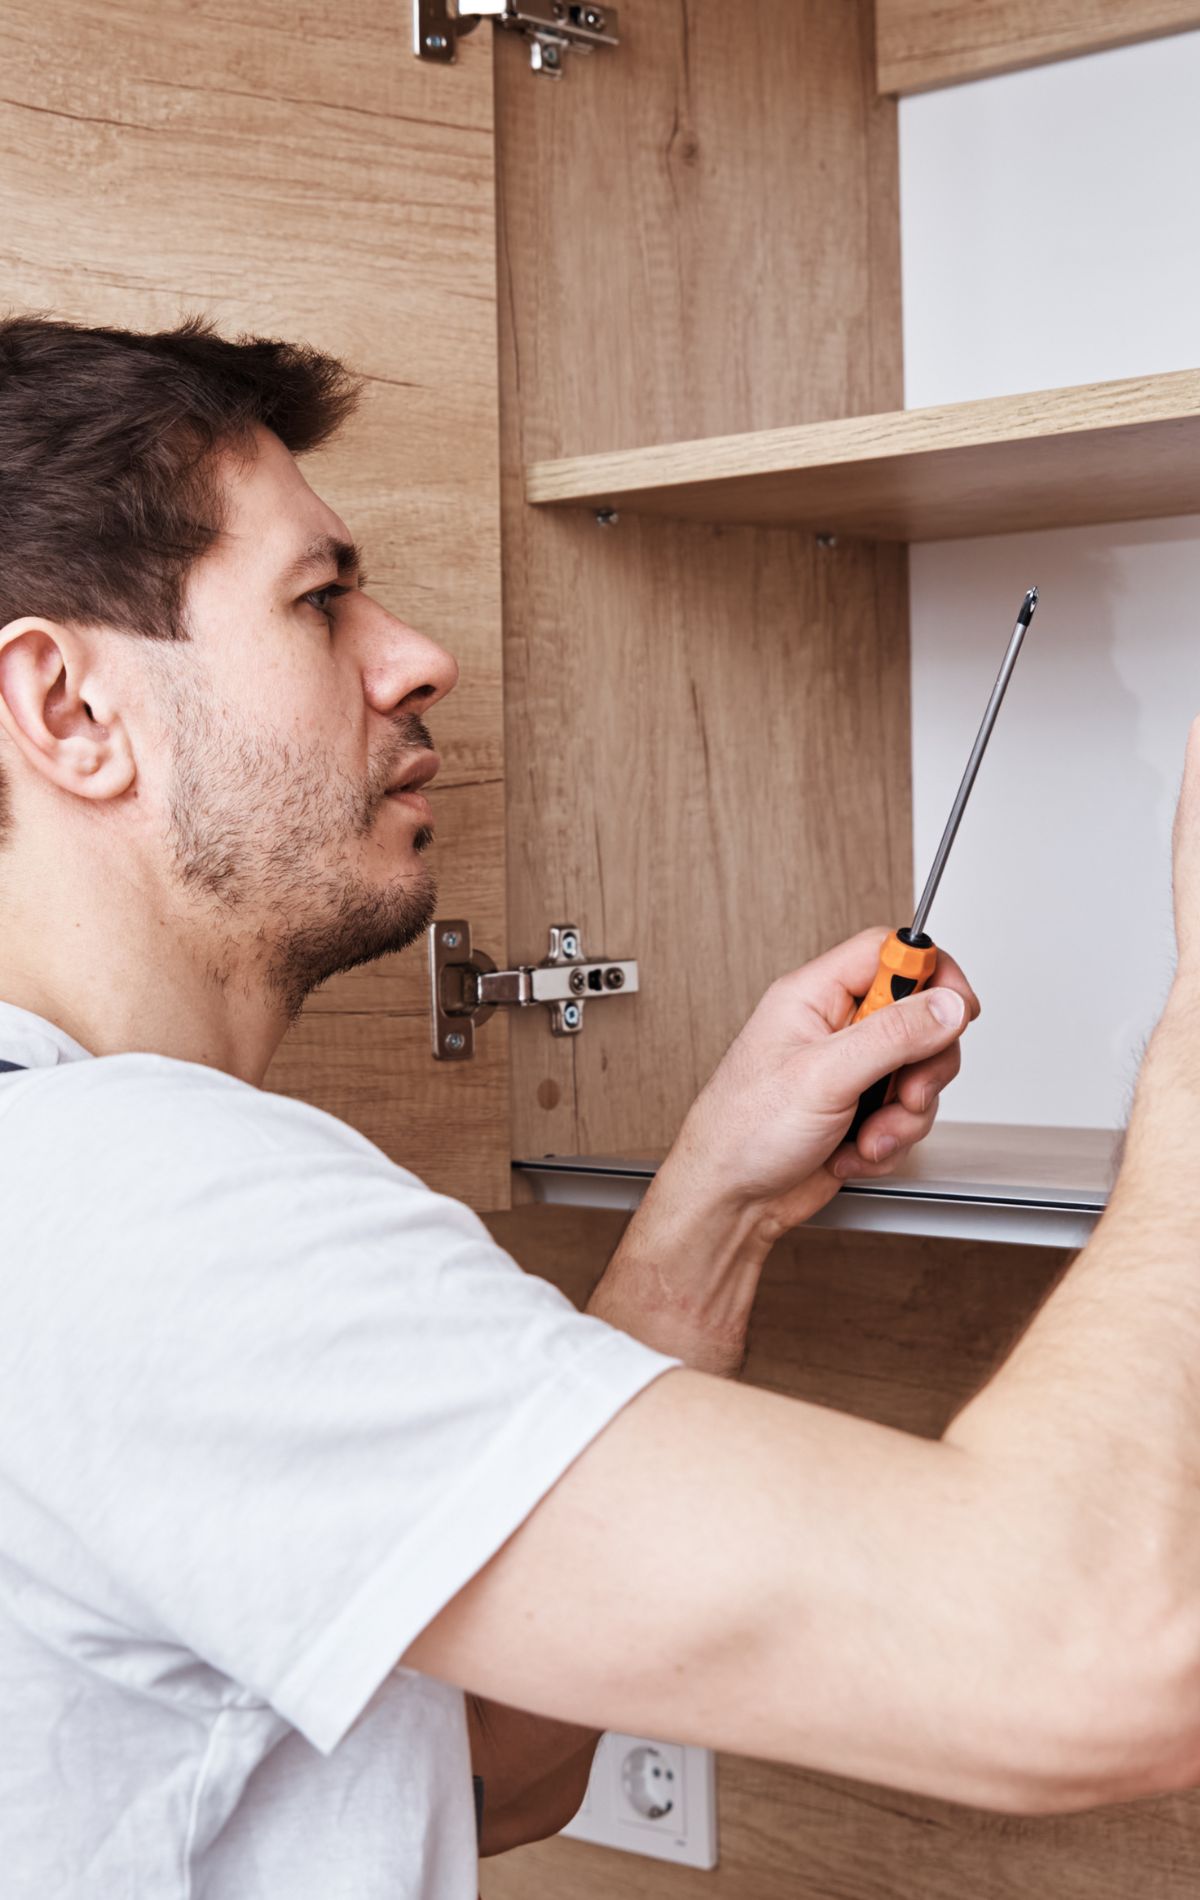
For misaligned hinges, unscrew, adjust, and then screw them back. A bit like adjusting a picture frame till it’s just right.
Replacing Damaged Pieces
If a part is too damaged, sometimes it’s best to replace it. Remember the old saying, “If it can’t be fixed, it’s time to replace”?
Tips to Maintain Kitchen Cabinets
After repair, let’s ensure longevity.
Regular Cleaning
Clean your cabinets regularly. It’s like giving them a spa day, making them feel fresh and appreciated.
Avoiding Water and Moisture
Water is wood’s enemy. Always ensure no water is left standing on your cabinets.
Conclusion
DIY kitchen cabinet repair isn’t rocket science. With a sprinkle of patience, a dash of effort, and the right tools, you can make your cabinets look as good as new. Remember, it’s not just about aesthetics; it’s about cherishing the heart of your home. Ready to give it a shot?
FAQs
- Can I change the color of my cabinets during repair? Absolutely! Once you’ve sanded them down, choose any color that tickles your fancy.
- What if the damage is too extensive for a DIY fix? Sometimes, it’s best to consult a professional. Know your limits.
- How often should I clean my cabinets? A gentle wipe-down once a week should do. A deeper clean can be done monthly.
- Can I replace cabinet handles for a new look? Certainly! It’s like giving your cabinets a mini-makeover.
- Are there any specific brands or tools recommended? While there are many brands out there, always read reviews and choose what’s best for your specific needs.

